Case study
An agent designed a part and 3D-printed it — from one spoken prompt
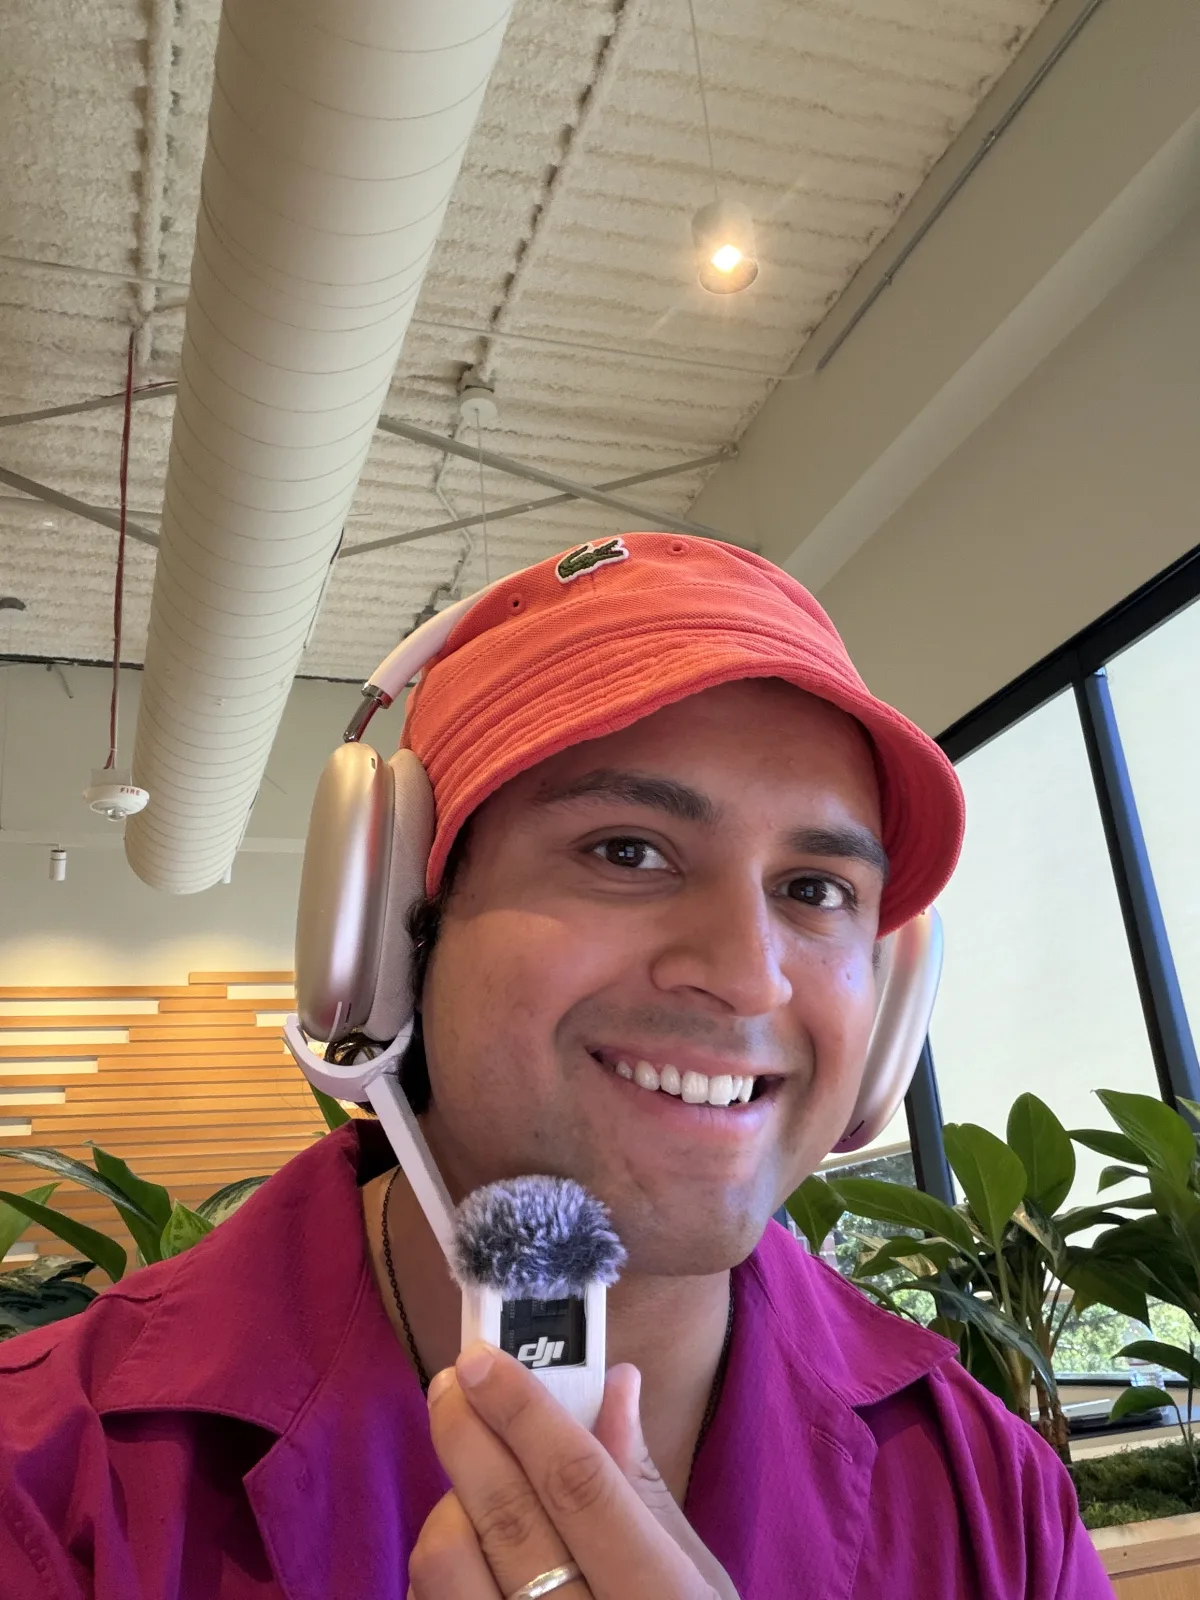
I hold a DJI mic up to my face when I talk to my agents. It is tedious. So I described, out loud, a small clip that would hold the mic on my AirPods Max instead. The agent designed the part, pulled my headphones' real 3D scan to check the fit, sliced it, caught its own slicer warning, looked at the printer's camera to make sure the bed was clear, and started the print. I watched the first layer go down on my phone.
Muqsit Nawaz · Published July 21, 2026
The prompt
No CAD file, no reference model, no measurements. Just a spoken brief, roughly:
“I want a 3D-printable clip that attaches to my AirPods Max and holds the DJI mic near my face, so I don't have to hold it. It should clip onto the ear cup, be movable, and work with different mics.”
Everything after this was the agent: the geometry, the fit check, the slicer, the safety check, and the print. My only other input was to confirm the print and, later, to go look at a jammed filament spool.
It modeled the part
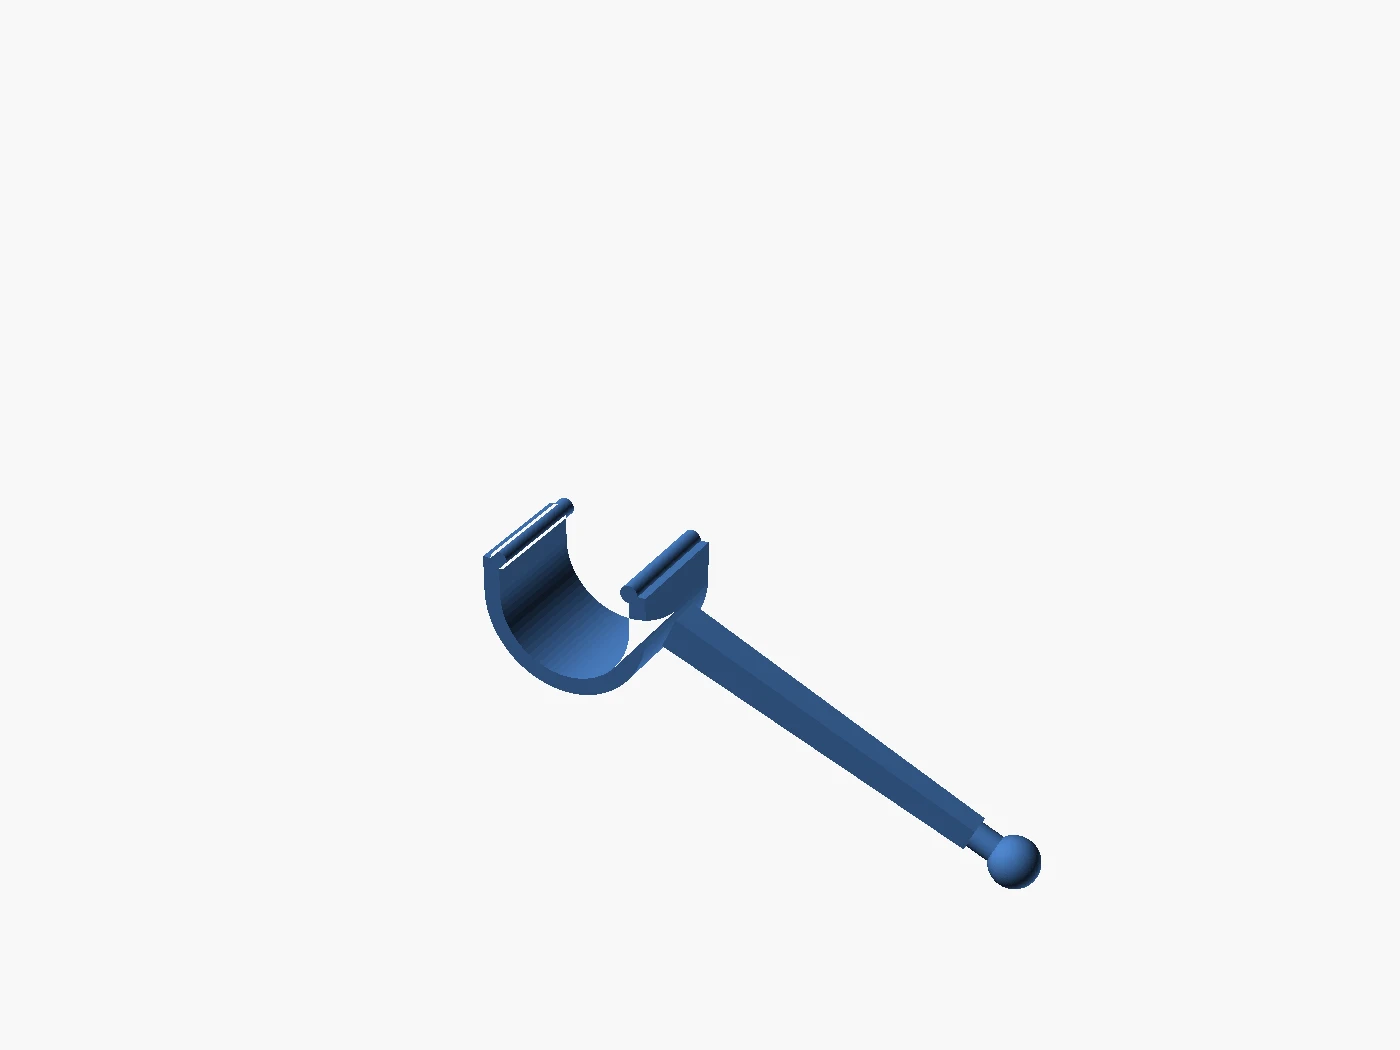
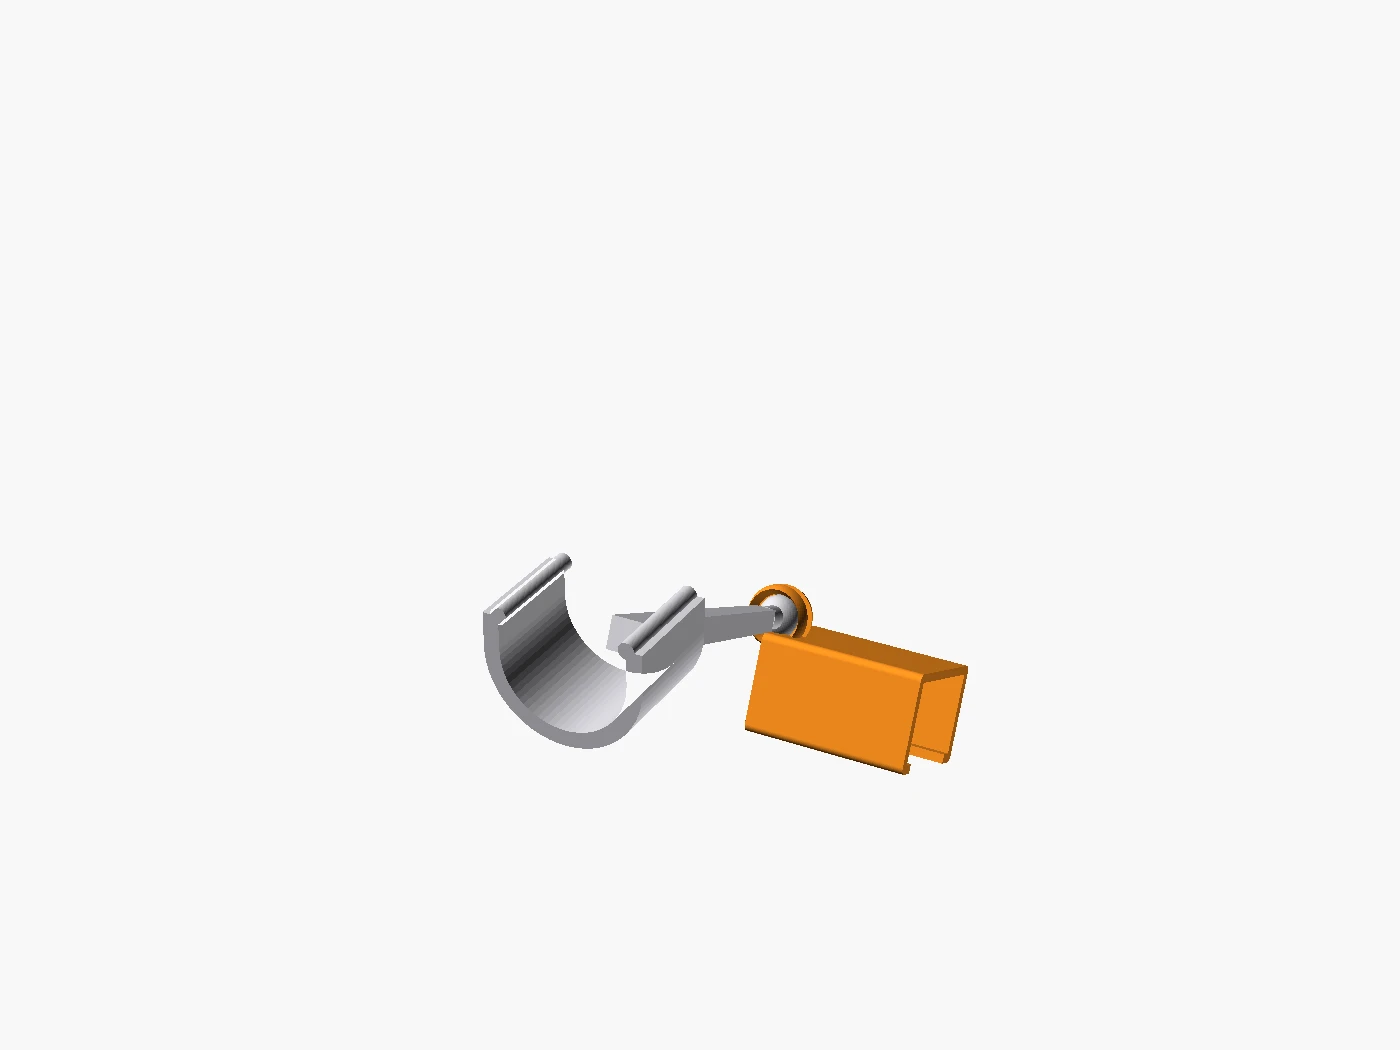
The agent wrote the part as parametric OpenSCAD — a clamp that grips the ear-cup shell and a cradle that holds the mic on a short, adjustable boom. Parametric matters here: cup thickness, boom length, and mic diameter are variables, so the same file re-fits a different headphone or a Rode instead of the DJI without a redraw.
It checked the real fit
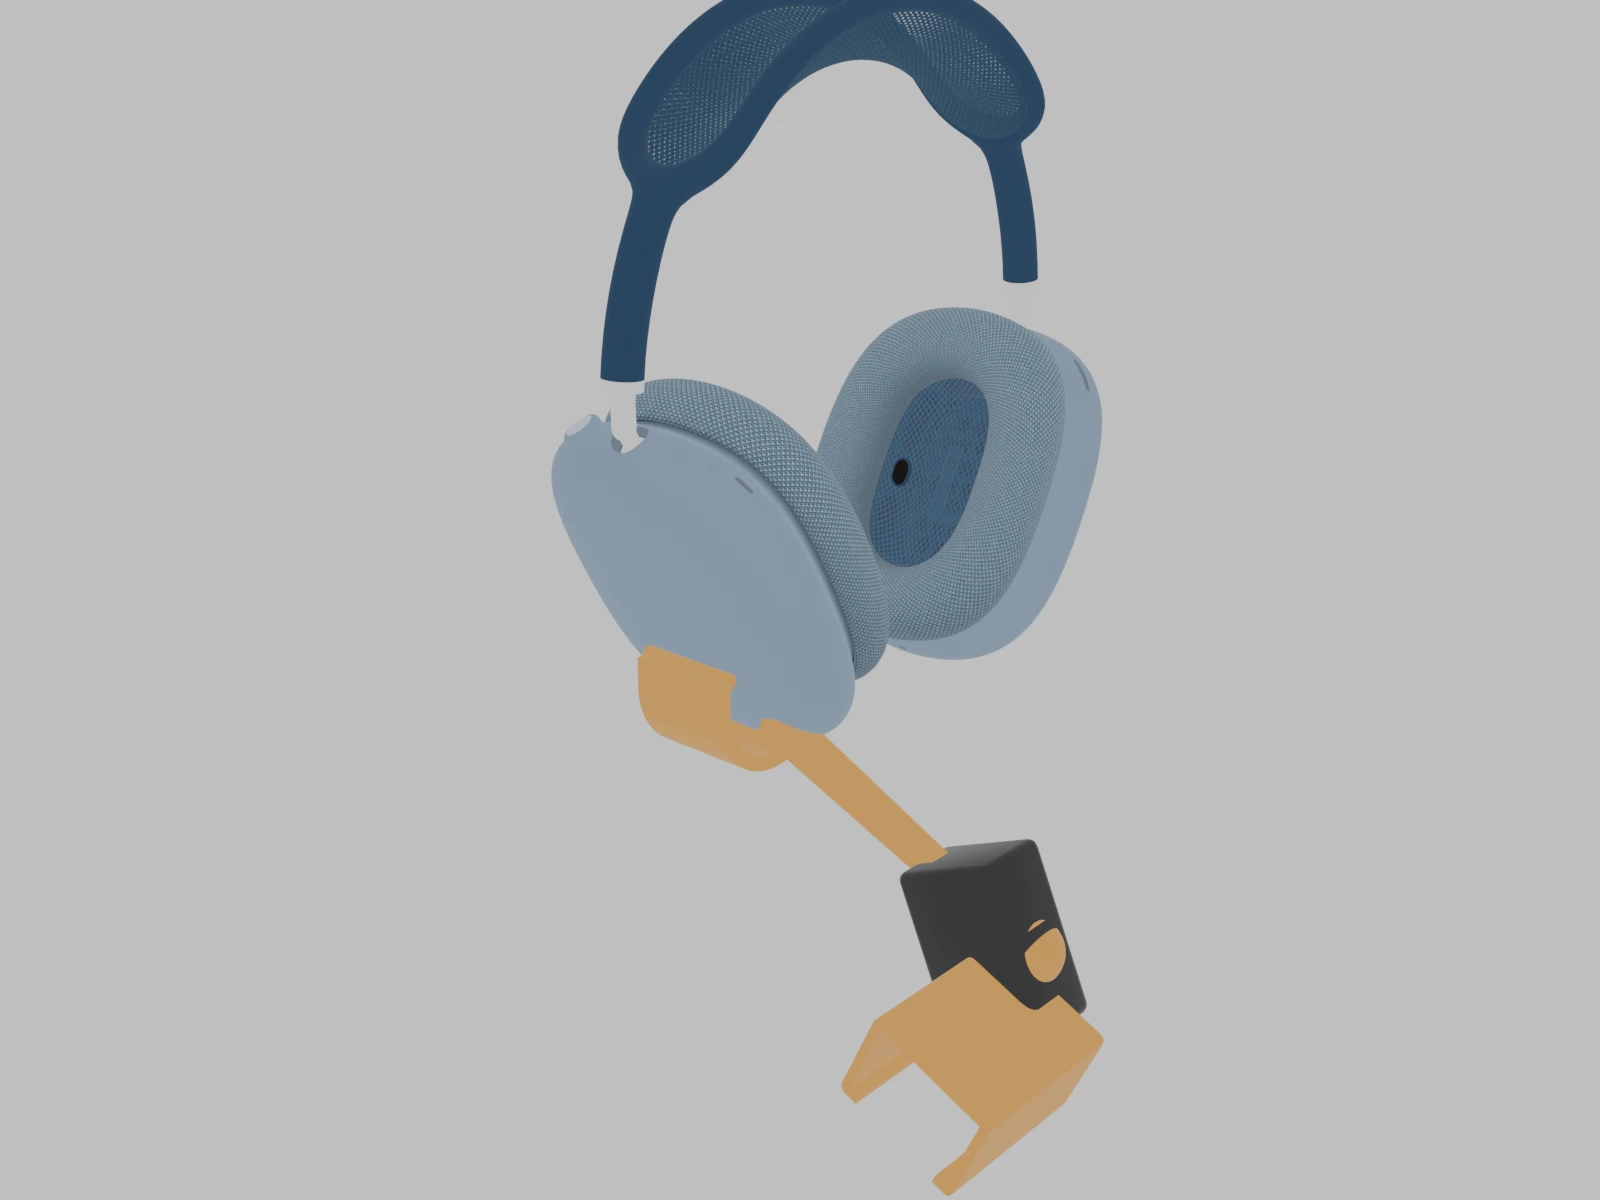
A part that clips onto headphones is only as good as the dimensions it clips onto. Instead of guessing the ear-cup curve, the agent drove a real browser, signed in to Sketchfab, and pulled an actual AirPods Max 3D mesh. It dropped the mesh into Blender and rendered the clamp against the true geometry — the hero image above is that mock, not an illustration. This is where a design either fits the curve or it doesn't, and now you can see it before spending filament.
It caught its own mistake
The agent opened Bambu Studio — the real desktop slicer, driven the way a person drives it — imported both parts, arranged them on the plate, and sliced. The first slice threw a warning: the mic boom was a floating cantilever that would sag mid-air. The agent read the warning, enabled tree supports, and re-sliced clean. It found and fixed the problem itself; I was not in the loop for it.
This is the part that is easy to miss. The agent did not just emit an STL and stop. It ran the real tool, read the real error, and corrected the model — the loop a person would run.
It checked the bed itself
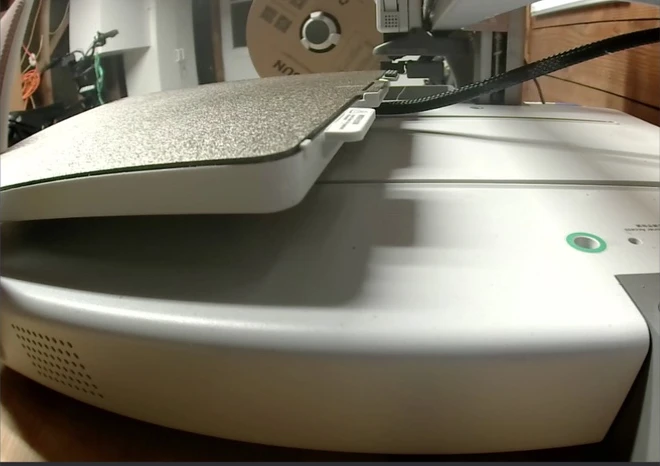
Before sending 33 grams of filament and two hours of print time, the bed has to be empty. The agent didn't ask me. It opened the printer's live camera, waited for the lens to focus, and confirmed the plate was clear — the previous print was already removed. Only then did it send the job.
It sent the print
The agent dispatched the job to the Bambu Lab A1, watched the nozzle climb to 220 °C and the bed to 65 °C, and confirmed the first layer starting. Job name mic_clamp, both parts on one plate, 33.3 g, about 1h47m.
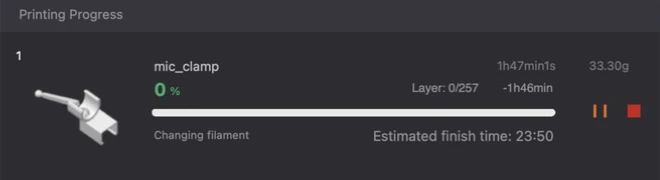
mic_clamp, layer 0 of 257.What actually happened
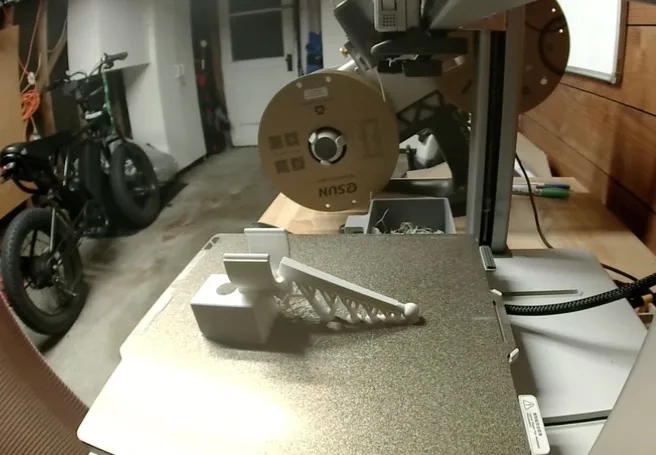
Here is the honest part. The first run did not finish: the filament spool jammed partway in — a mechanical feed problem in the printer, the one thing a screen-driving agent cannot reach through the glass. Everything upstream of the physical filament path worked: design, real-fit check, slice, warning fix, camera safety check, dispatch, first layer. The reprint is below.
How one CLI did all of this
None of this needed a bespoke integration. It was one agent, running locally through agi-cli, using two capabilities that let it touch the real world:
| Step | What drove it |
|---|---|
| Pull the real headphone mesh from Sketchfab | browser-use — a real signed-in browser |
| Slice, arrange, fix the warning in Bambu Studio | computer-use — driving the native desktop app |
| Read the printer's camera and send the job | computer-use — same app, live device view |
| Model the part, render, background waits | the agent's own shell and tools |
The interesting shift isn't “an agent wrote some CAD.” It is that the agent operated the real tools a maker operates — a browser, a slicer, a printer's camera — and closed its own loops between them, on the machine in front of it.
Try it
curl -fsSL agi-cli.sh/install.sh | sh